Docs
Drawing Pipes
Draw Mode: placing connected runs of pipe in the viewport.
Draw Mode is how you extend a network. You point where the pipe should go, and PipeIt previews and places straight segments and corners that snap to sensible directions.
Mid-draw: the ghost preview shows the piece about to be placed, with the guide line pointing along the chosen direction.
Drawing a run
Select a network and click a piece. Every direction the piece can grow in shows a small green + arrow next to it: end caps have one, straights can also grow backward, junctions show their free directions.
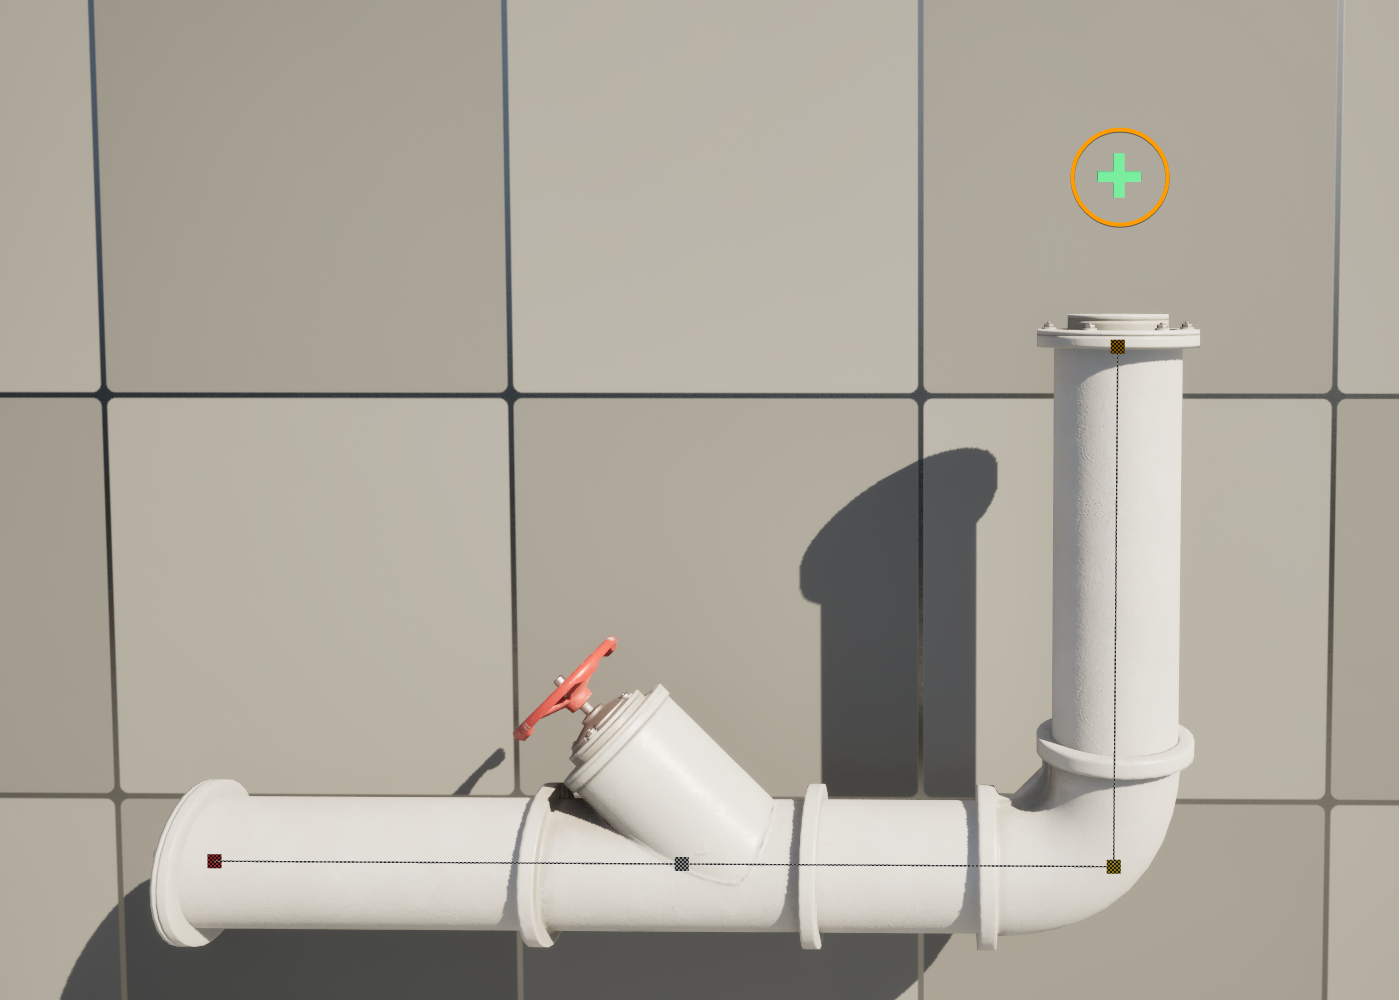
The green + arrow above an open end. Click it to start drawing in that direction.
- Click a green + arrow to start drawing in that direction. Or hold Shift and drag the piece’s move gizmo; the drag snaps to the nearest valid direction and starts the same run.
- Move the cursor in the direction you want the pipe to go. PipeIt previews the segment and the piece it will use, with a live length readout at the cursor.
- LMB to place it. Drawing continues from the new end, so you can chain a whole run with repeated clicks.
- Enter or Esc when the run is done.
While the editor’s grid snapping is on, freehand lengths snap to the translation grid; typed and surface-snapped lengths are always exact.
How it works
As you move the cursor, PipeIt projects it onto the candidate directions from the current end (the piece’s own axes, the world axes, and 45° diagonals when the kit has 45° pieces) and previews the segment that best matches where you are pointing. It chooses between a straight and a corner automatically based on direction: the yellow guide line shows the active choice, and the fainter grey lines are the other directions you could swing to.
Controls
| Action | Input |
|---|---|
| Place segment (and continue the run) | LMB |
| Type an exact length | 0–9 (decimals allowed) |
| Place the typed length | Enter |
| Undo the last segment | Backspace |
| Snap to a surface | hold Ctrl (Cmd on macOS) |
| Finish | Enter or Esc |
Typing exact lengths
While a segment is previewed, type digits to set its length precisely (in centimetres; a decimal point works). The readout switches to the typed value: Enter places the segment at exactly that length, Esc clears the digits and returns to cursor control. A typed length overrides both the cursor distance and an active surface snap.
Typing a length mid-draw. The readout shows the typed value and Enter places the segment at exactly that length.
Backspace first deletes a typed digit; with nothing typed, it removes the last segment you placed, stepping back through the run.
Snapping to a surface
Hold Ctrl (Cmd on macOS) to run the pipe up to whatever surface lies along the current direction (a wall, the floor). The guide line turns cyan and marks the hit point; the placed end cap lands exactly on the surface, and if the kit has a wall-mount cap variant, PipeIt uses it automatically.
Snapping to a surface: the guide line marks the hit point and the end cap lands exactly on it.
A surface-snapped placement completes that run: the pipe has arrived at something, so the chain ends there.
Limits worth knowing
- Each segment has a minimum length: the two end pieces’ sockets must fit. Shorter cursor positions (or typed values) are clamped up to it, and a surface snap is rejected when the wall is nearer than the minimum.
- Directions the target piece cannot support are simply not offered. If a corner cannot legally grow somewhere, no candidate appears for it.